In this beginner-friendly guide, we’ll walk you through the entire custom web application development process using Webflow, covering everything from planning to launching and optimizing your application.
Step 1: Understanding Webflow Basics
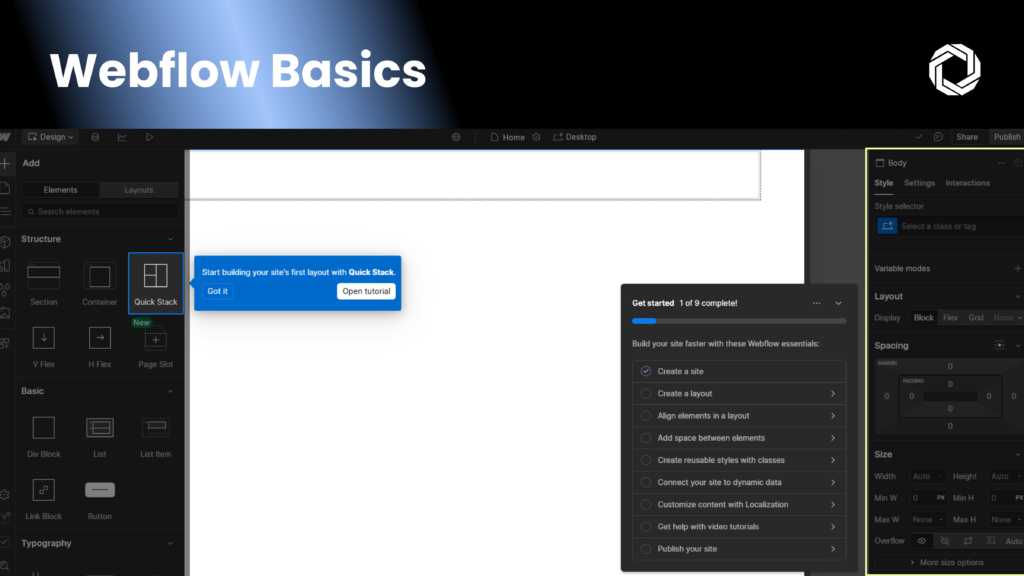 Understanding Webflow BasicsBefore diving into development, it’s essential to understand Webflow’s core features and how they contribute to custom web application development. The Webflow Designer – Visual Drag-and-Drop Interface Webflow’s Designer is a powerful visual editor that lets users build web applications without code. You can drag and drop elements like text, buttons, images, and forms onto the canvas, and Webflow automatically generates clean HTML, CSS, and JavaScript behind the scenes.
  Planning Your Custom Web Application Webflow CMS – Managing Dynamic Content For applications requiring dynamic content such as blogs, product listings, or user-generated content, Webflow CMS is a game-changer. You can create content collections, design a template once, and Webflow will dynamically populate the content across your application. Learning Webflow – Where to Start? For beginners, Webflow University offers free courses and tutorials to help you master Webflow development quickly.
Step 2: Planning Your Custom Web Application
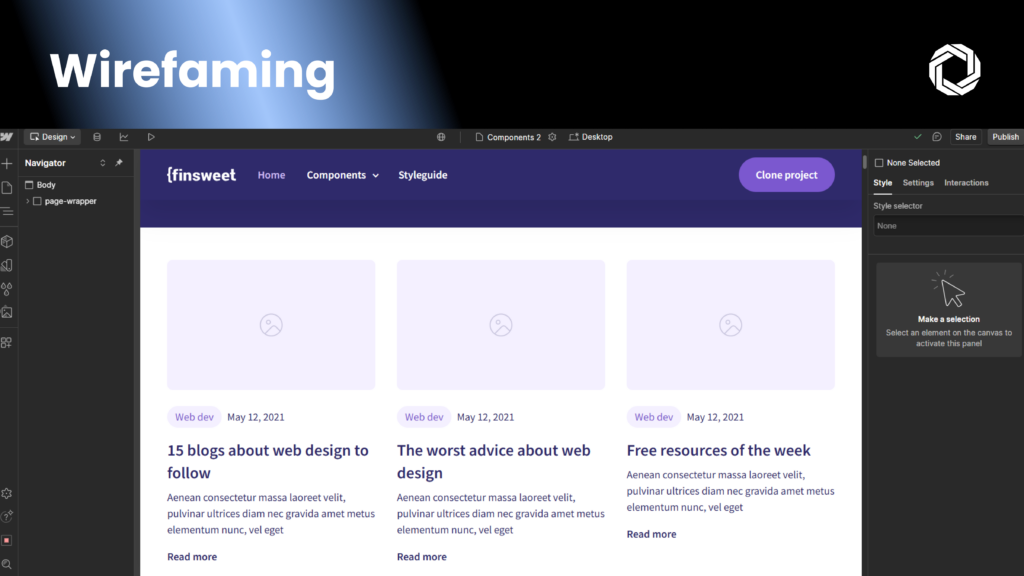 Planning is a critical phase in custom web application development. Before you start designing, take time to:
- Define the purpose of your web application.
- Identify your target audience and their needs.
- Outline essential features such as user authentication, interactive components, or payment gateways.
Wireframing – Visualizing Your Application Structure Wireframing helps you visualize the layout of your web application before development begins. Tools like Figma and Adobe XD allow you to sketch out your user interface, ensuring a structured and user-friendly experience.
Step 3: Setting Up Your Webflow Project
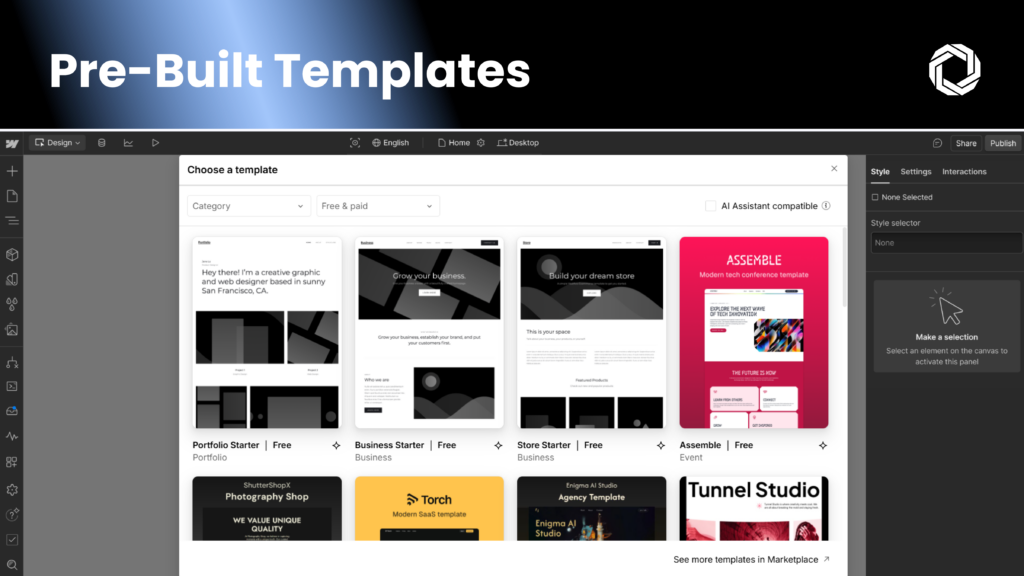 Getting Started with Webflow
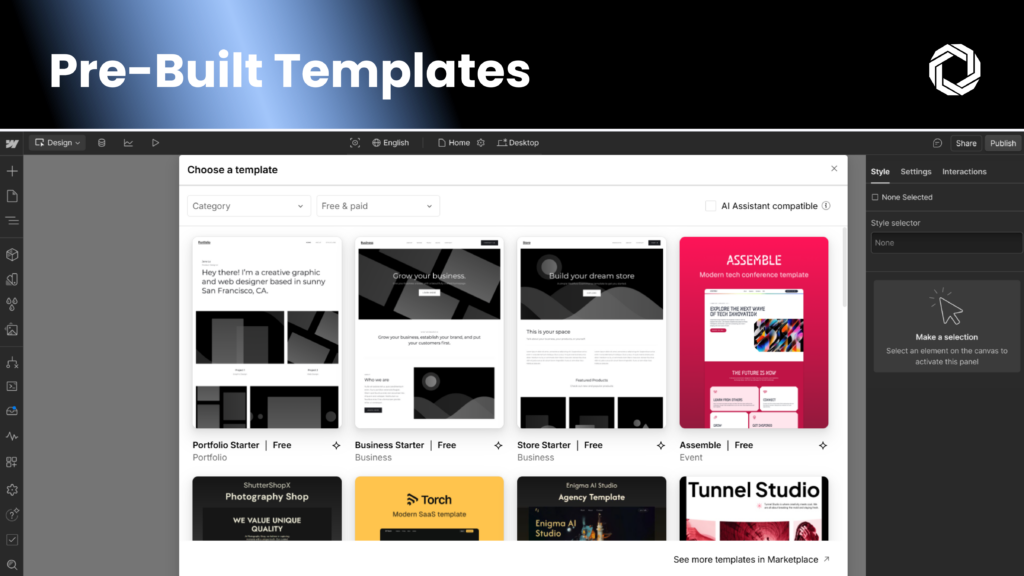
Getting Started with Webflow To start your custom web application development, sign up for a Webflow account. From the dashboard, create a new project, where you’ll have the option to use a template or start from scratch. Using Webflow Templates for Quick Prototyping Webflow offers pre-built templates that you can customize to match your application’s branding and features. If you prefer a fully unique design, you can start with a blank canvas.
Step 4: Designing the Web Application
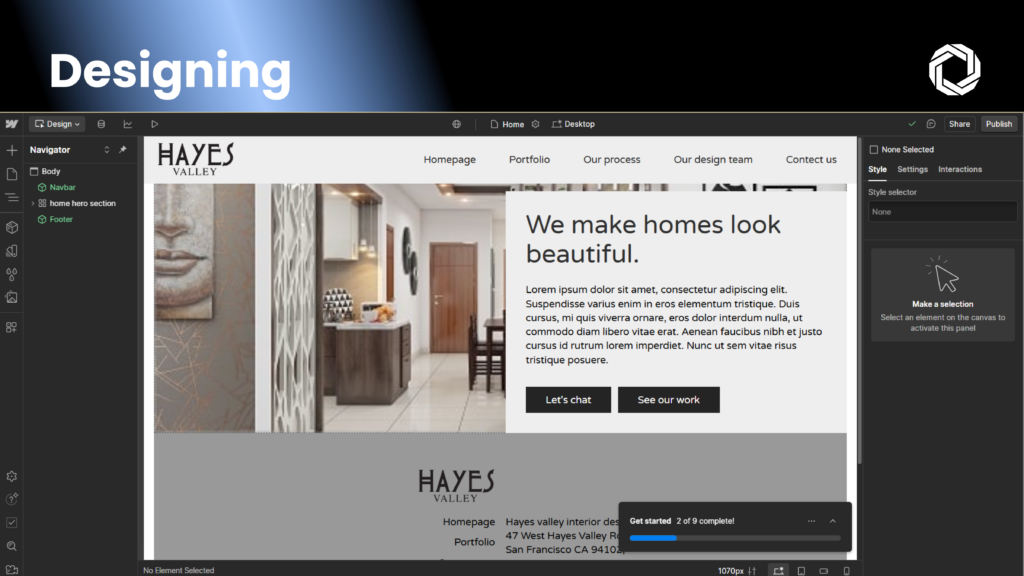 Designing the Web ApplicationDesign is crucial to user engagement and usability. Webflow provides advanced layout tools to create fully responsive applications. Using CSS Grid & Flexbox for Layout Webflow’s CSS Grid and Flexbox tools make it easy to structure your application visually. Adjust fonts, colors, spacing, and alignment in the Style Panel without writing code. Ensuring a Fully Responsive Design Webflow ensures mobile-friendly designs by allowing you to preview and adjust layouts across desktops, tablets, and smartphones in real-time.
Step 5: Adding Interactivity and Functionality
Leveraging Webflow CMS for Dynamic Content With Webflow CMS, you can automate content population across pages, making it perfect for blogs, product listings, and real-time updates. Using Webflow Interactions for a Better UX Webflow allows you to create animations and dynamic interactions using its visual interaction builder. Features like hover effects, scroll-triggered animations, and modal pop-ups help enhance user experience. Integrating Third-Party Tools & Custom Code For additional functionality, Webflow supports third-party integrations such as:
- Analytics (Google Analytics, Hotjar)
- Chatbots & Customer Support (Intercom, Drift)
- Payment Gateways (Stripe, PayPal)
Step 6: Optimizing for SEO and Performance
SEO and performance optimization are essential for increasing search engine visibility and user engagement. Webflow’s Built-in SEO Tools Webflow provides built-in SEO settings, including:
- Custom page titles and meta descriptions
- Structured heading hierarchy (H1, H2, H3, etc.)
- Alt text for images
Improving Page Speed & Performance To ensure fast load times, optimize your images, leverage Webflow’s CDN, and monitor performance using Google PageSpeed Insights.
Step 7: Testing and Launching Your Web Application
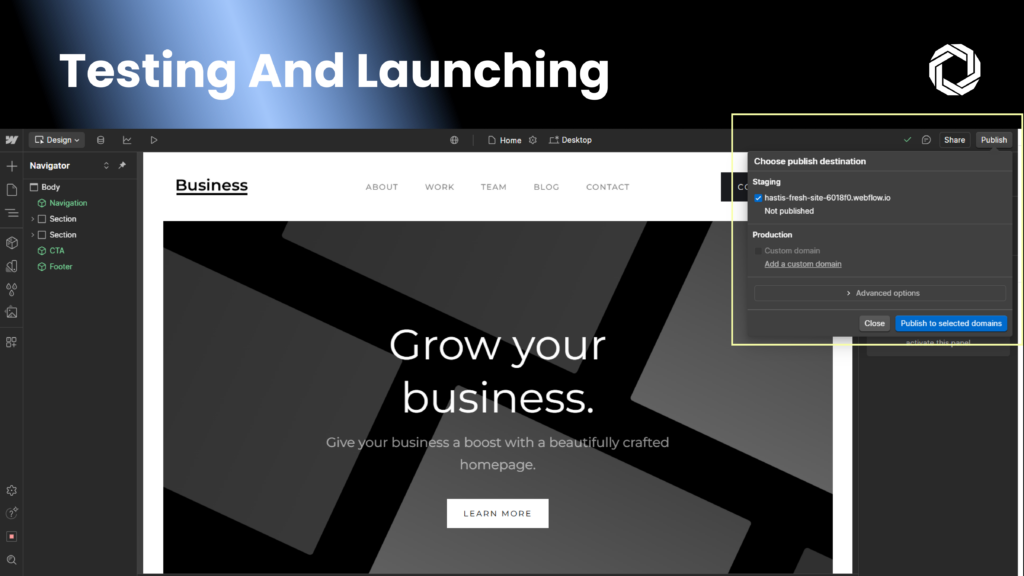 Testing and Launching Your Web ApplicationBefore launching your custom web application, perform comprehensive testing to ensure a smooth user experience. Final Pre-Launch Checklist
- Check responsiveness on mobile, tablet, and desktop
- Test all interactive elements, including buttons and forms
- Run cross-browser compatibility tests
Once ready, hit “Publish” in Webflow to go live instantly using Webflow’s subdomain or your custom domain.
Step 8: Maintaining and Scaling Your Web Application
Launching is just the beginning—ongoing maintenance is essential to keeping your application running smoothly. Regular Updates & Scalability Webflow’s visual editor makes updating content and designs effortless, while its auto-scaling hosting adapts to increased traffic. Tracking Performance with Analytics Monitor user engagement, traffic, and performance using Google Analytics and Google Search Console.
Conclusion
 ConclusionWith Webflow, building a custom web application is now easier than ever. Whether you're a beginner or an advanced developer, Webflow’s no-code platform, CMS, and integrations allow you to develop, scale, and optimize applications effortlessly. Now it’s your turn! Start building your Webflow project today and bring your ideas to life. Ready to get started? Sign up for Webflow and start developing your custom web application today!