In today’s digital-first world, Zapier Automation is key to improving efficiency, reducing errors, and maximizing productivity. Businesses, marketers, and developers constantly seek ways to streamline workflows without wasting valuable time on repetitive tasks. This is where Zapier Automation comes in—a game-changing tool that connects thousands of applications, eliminating the need for manual intervention. Whether you’re looking to simplify your CRM updates, automate emails, or integrate multiple platforms, Zapier Automation allow you to do it all effortlessly.
What Is Zapier?
Zapier is an online automation platform that acts as a bridge between different apps, enabling seamless data transfer and task execution. With zapier automation, you can create custom workflows known as “Zaps” that trigger actions based on specific conditions. 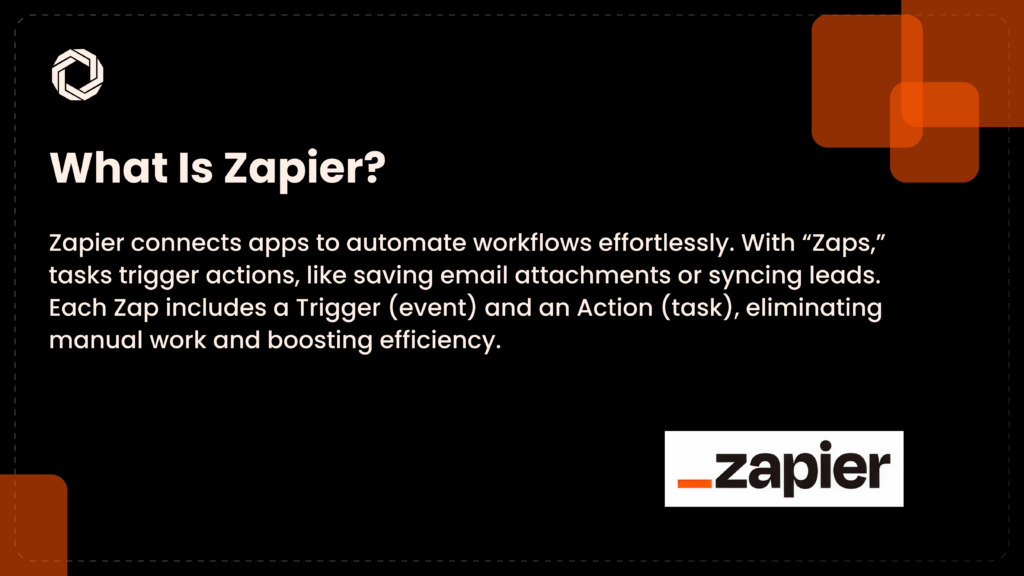 For example:
-
Automatically save email attachments to Google Drive
-
Sync leads from Facebook Ads to a CRM like HubSpot
-
Post social media updates when a new blog is published
Each Zap consists of: ✅ Trigger – An event that starts the automation (e.g., receiving a new email) ✅ Action – The task performed in response to the trigger (e.g., saving the email as a PDF) This eliminates the need for manual data entry and improves workflow efficiency.
How Does Zapier Work?
Zapier follows a simple process of Triggers and Actions: 🔹 Trigger: Detects an event in one app (e.g., a form submission) 🔹 Action: Executes a task in another app (e.g., adding data to a spreadsheet) Once a Zap is activated, it continuously runs in the background, ensuring that your apps remain synchronized and operational without requiring manual intervention. 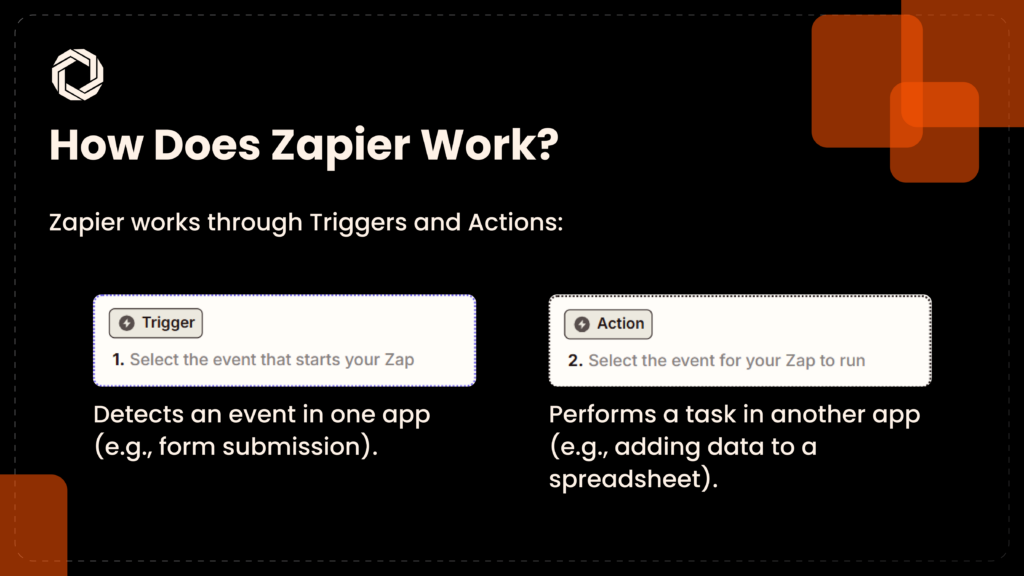
Why Use Zapier?
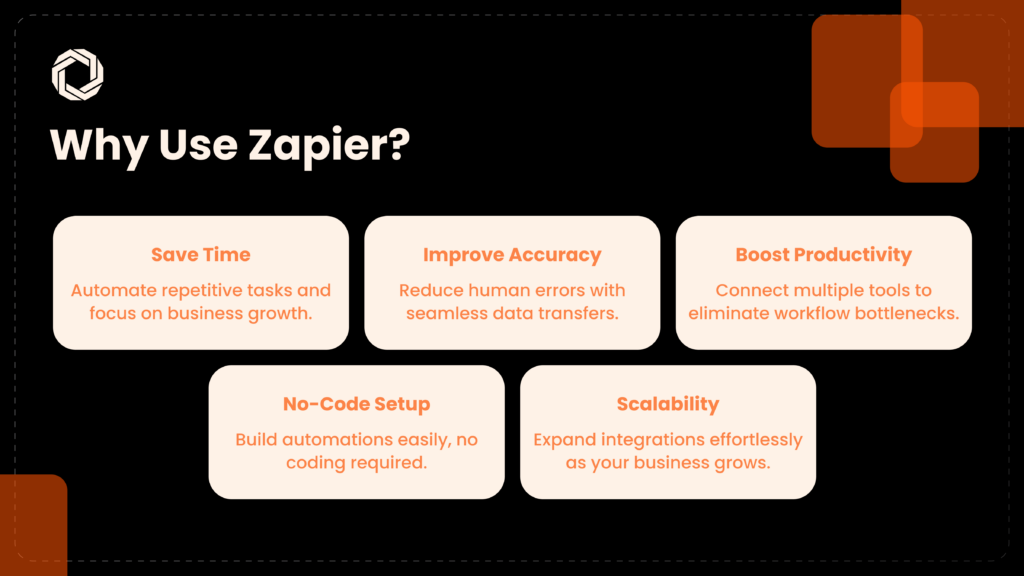
✅ Save Time
Automate mundane tasks so you can focus on high-value activities that drive business growth.
✅ Improve Accuracy
Minimize human errors by automating data transfers between applications.
✅ Boost Productivity
With zapier automation, you can connect multiple tools and create seamless workflows, eliminating bottlenecks and delays.
✅ No-Code Setup
Easily build automations without writing a single line of code.
✅ Scalability
As your business grows, you can scale your zapier integrations effortlessly by adding more apps and automation steps.
Getting Started with Zapier
Step 1: Sign Up and Explore
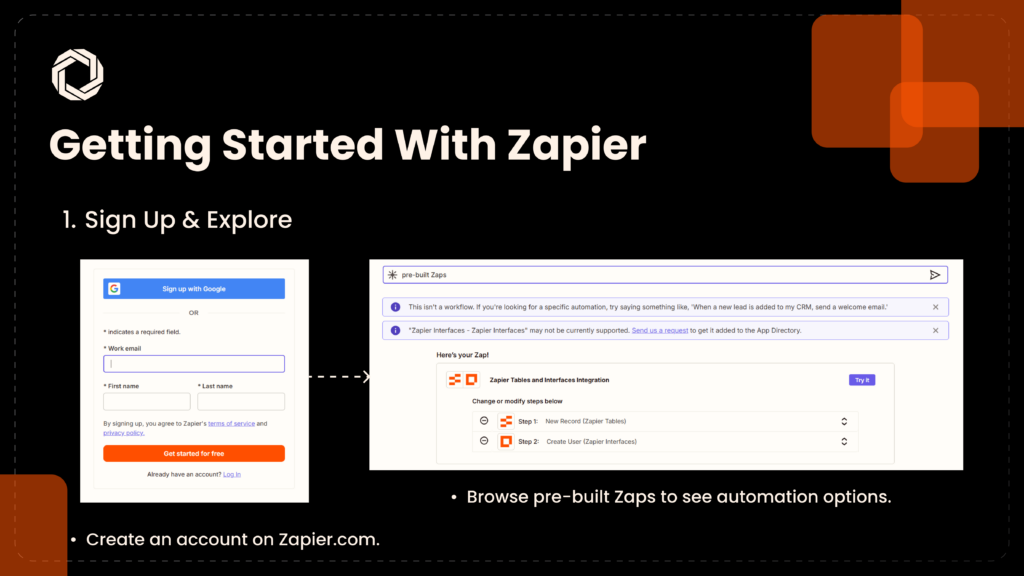
-
Visit Zapier.com and create an account.
-
Explore pre-built Zaps to understand automation possibilities.
Step 2: Create Your First Zap
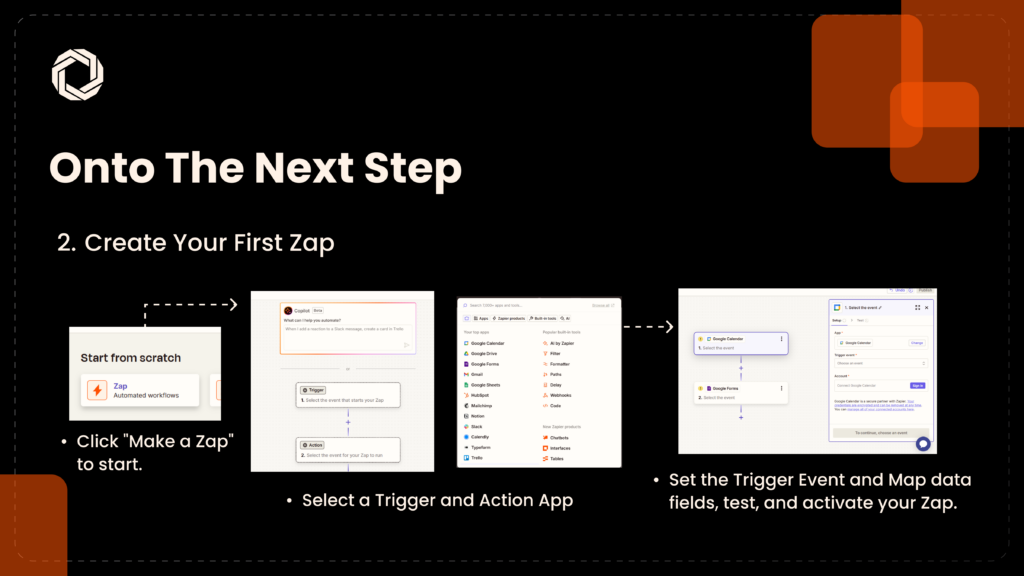
-
Click "Make a Zap" to initiate a new workflow.
-
Choose a Trigger App (e.g., Gmail for new emails).
-
Set up the Trigger Event (e.g., “New Email Received”).
-
Choose an Action App (e.g., Google Sheets to store data).
-
Map your data fields, test the integration, and activate the Zap.
Step 3: Advanced Features
-
Multi-Step Zaps – Combine multiple actions in a single workflow.
-
Filters – Set conditions so actions only trigger when specific criteria are met.
-
Delays – Schedule tasks for later execution.
-
Data Formatter – Modify, clean, and format data within Zapier.
Integrating Your API with Zapier
If you're a developer, you can connect your custom application to Zapier using zapier api to build unique automations tailored to your users.
Step 1: Create a Zapier App
-
Visit the Zapier Developer Platform and sign in.
-
Build a new integration by defining triggers, searches, and actions.
Step 2: Define Your API Endpoints
Specify authentication, endpoints, and sample data. For example, to trigger a Zap when a new post is created: const getNewPosts = async (z, bundle) => { const response = await z.request('https://your-app.com/api/posts?new=true'); return response.data; }; module.exports = { key: 'new_post', noun: 'Post', display: { label: 'New Post', description: 'Triggers when a new post is published.', }, operation: { perform: getNewPosts, sample: { id: 1, title: 'Hello World!', content: 'This is a sample post.', }, }, };
Step 3: Test and Deploy
-
Use Zapier’s built-in testing tools to ensure proper functionality.
-
Submit your app to Zapier’s public directory or keep it private.
Step 4: Document and Onboard
Provide clear documentation, including: 📌 Step-by-step setup guides 📌 Screenshots and tutorial videos 📌 Troubleshooting FAQs
Best Practices for Zapier Automation
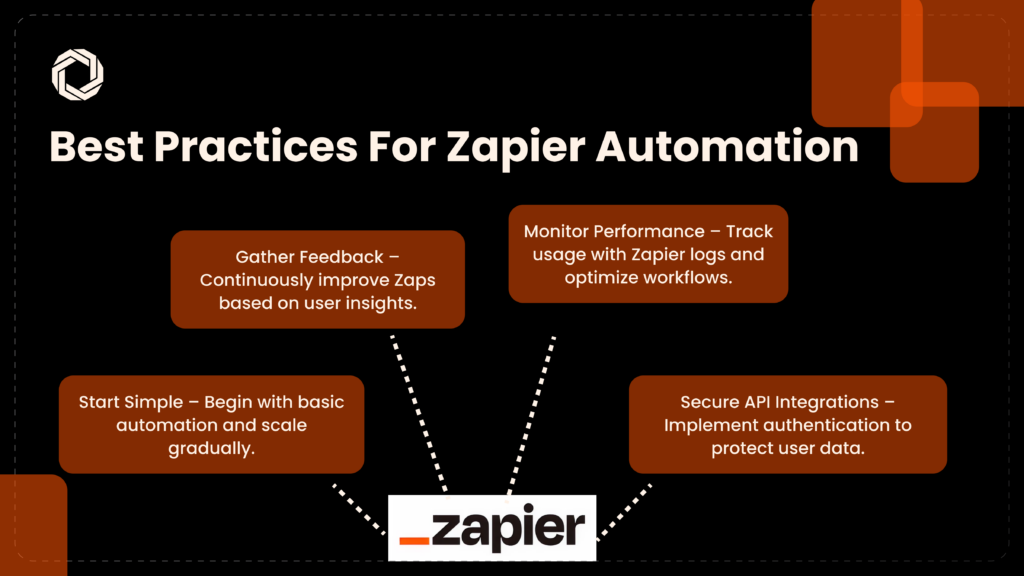
✅ Start Simple – Begin with a basic automation and expand as needed. ✅ Monitor Performance – Use Zapier logs to track usage and optimize workflows. ✅ Secure API Integrations – Protect user data by implementing authentication protocols. ✅ Gather Feedback – Regularly update Zaps based on user insights.
Partner with Techlusion for Smart Automation
Looking to take your zapier automation to the next level? At Techlusion, we specialize in: 🔹 Custom Workflow Automation – Streamlining business processes with tailored integrations. 🔹 API Integration Services – Connecting third-party apps for seamless automation. 🔹 Enterprise-Grade Automations – Ensuring scalability and security for business-critical processes. 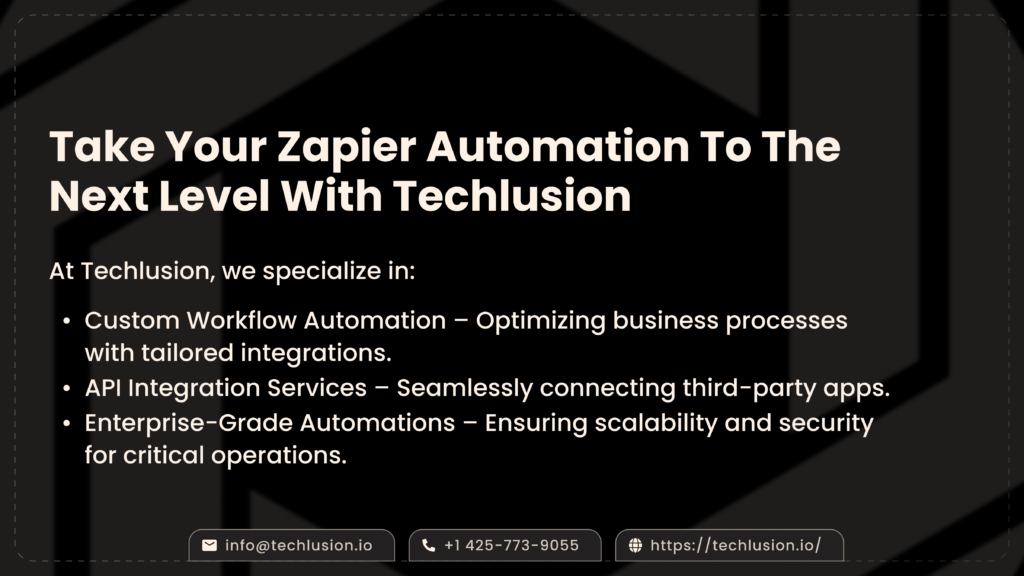
Related Reading:
Check out our blog on " The Role of AI Integration Services in Business Automation " to learn more about time-saving integrations and workflow optimization.